Is your business project present on the web? Does your friend have a blog? Are you thinking about launching your own web project but do not know how to start? With the involvement of digital technologies and growing demand in having your web presence for the maximum visibility, it’s essential to have a blog or a business site.

Even if you are new to web design and development, there are plenty of ways to launch your own web resource without asking for someone else’s help. In this guide, I’ll show you the most popular ways to build your own blog and avoid investing impressive amounts of cash in the site development process.
Before You Get Started
Before we dig deeper into the how-to part on how to create a blog, let’s consider the major ways to build your blog. First of all, you can code your site from scratch. This can cause you plenty of time and cash, still, you will attain a custom-built web resource that features a unique design and contains a versatile set of tools that are relevant to your project.
There are plenty of web platforms that you can choose as the foundation for your online project.
The choice of CMS, web platforms and page builders is really impressive. The selection of the best foundation for your site is mainly grounded on the type of project that you want to launch and the purposes that you pursue.
According to the stats provided by BuiltWith, WordPress is the most popular CMS in 2019.
It is chosen by 52% of resource that can be reached on the contemporary web. Next comes Wix premium site builder, that’s used on 7% of sites. Joomla is used by 4% of the present-day sites.Why do people give major preference to WordPress-based online projects? First of all, it’s free. It is user-friendly. Even if you have little to no coding skills at all, you will be able to handle the dashboard and all the major functionality of the CMS without too much learning curve being involved.
Additionally, there are plenty of topic-specific WordPress themes available on the present-day web. So, you can save your time and cash on the development of a custom design for your site and customize a ready-made web theme instead.
One more way to launch your blog, personal, business or eCommerce site on the web is to get a website built for you. By means of the Ready-to-Use website offer, you can get a website of any complexity built for you within the shortest period of time. You can pick any CMS or web platform of your own preference (including popular eCommerce solutions).
As soon as you select a web theme that will be used as a foundation for your site, a team of skilled web design professionals with over 16 years of site building experience will get the job done for you. When your site is ready, you will get a website with an easy-to-use control panel to apply any needed changes by yourself, without any hidden fees.
What’s the price? If you grab the deal on February 8th the latest, you will get a ready-to-use website for just $149.

In this tutorial, you’ll find details on how to build a blog using a ready-made theme. So, let’s get started.
Select a Web Theme
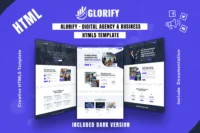
As soon as you decide what web platform will be used as a foundation for your site, you need to pick a ready-made web theme featuring the needed look and feel for your online project. If you decide to build your blog using WordPress, then you will be impressed with the variety of themes available on the web. All contemporary ready-made designs feature free live demo versions, so you can check out how the preferred theme works and feels before you install it on your site.
Additionally, there are plenty of showcases revealing examples of site that are built using specific web designs. Just take a look at the following examples.
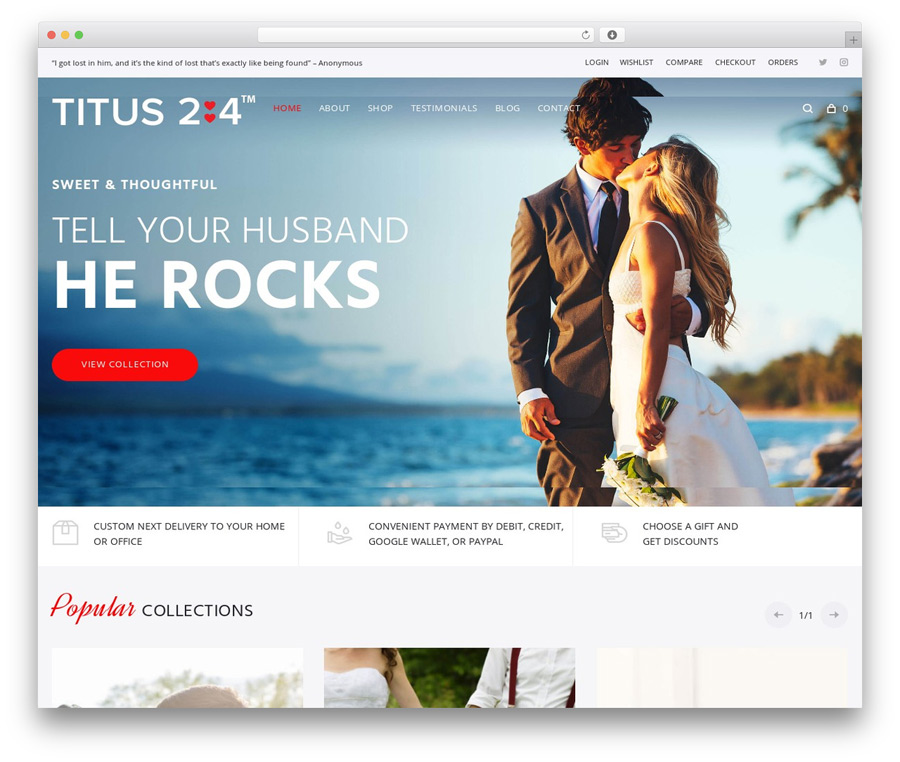
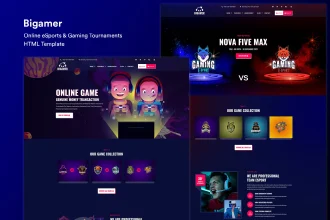
Titus24.com is built using Solosshopy WordPress page template.
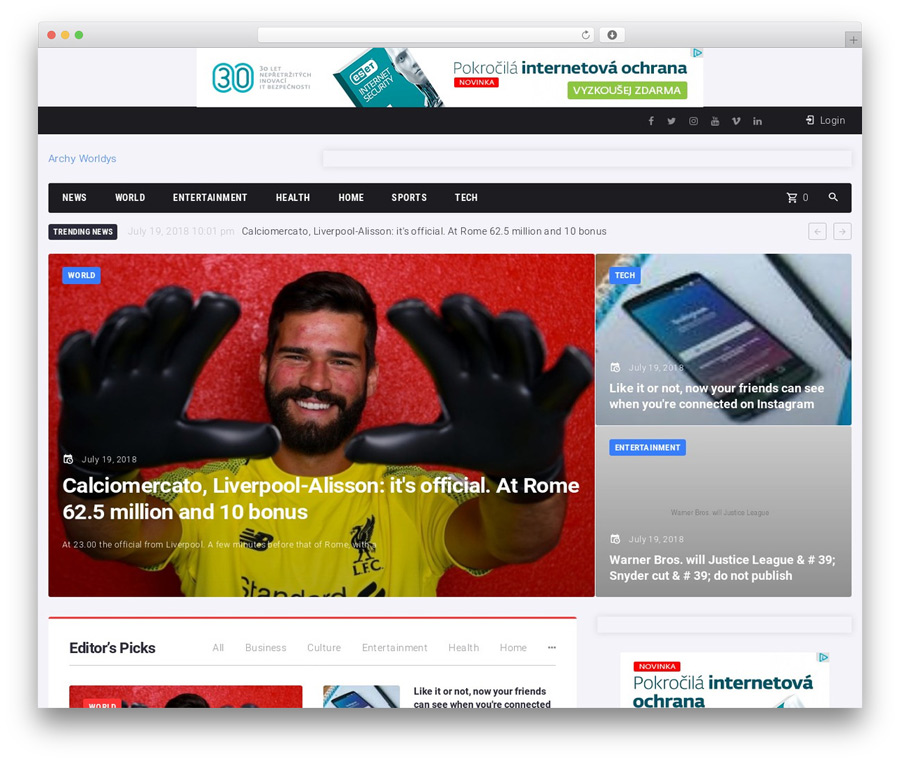
Archyworldys.com runs on Storycle WordPress theme.
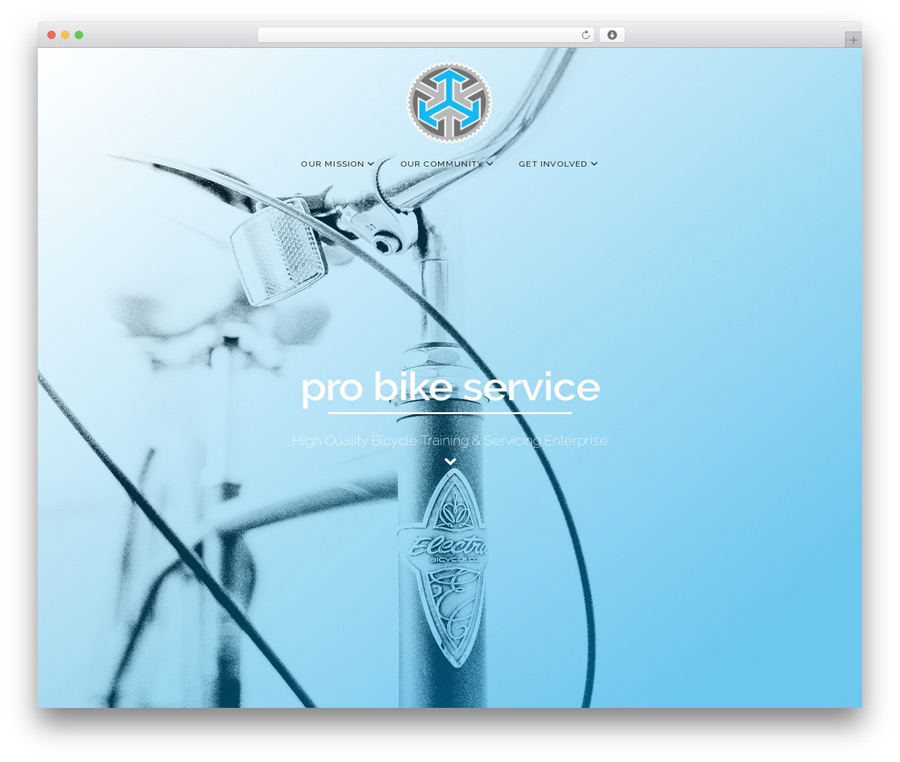
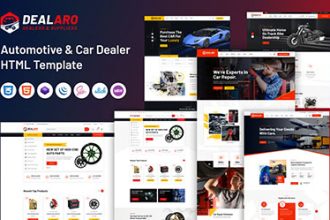
Probikeservice.co.uk uses Stimutus – Creative Multihome Elementor WordPress Theme as the foundation.
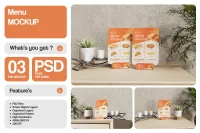
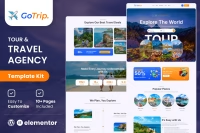
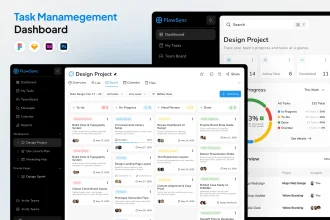
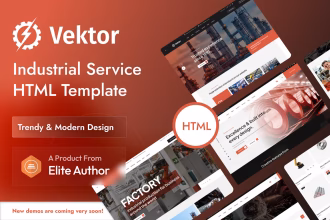
While choosing a Ready-to-Use website offer, you will be provided with a selection of 4700+ themes for different topics and purposes. For example, you can choose your website to be built on HTML5 (f.e., portfolio HTML templates), PrestaShop, WordPress, Magento, OpenCart, Shopify, and other types of popular web platforms.
Pick a Domain Name and Web Hosting
As soon as you choose a theme for your future blog, make it stand out with a unique domain name (i.e. the address of your blog on the web). In the perfect scenario, the domain name of your site should be equal to your brand name. Keep it short and memorable.
In addition to the choice of the domain name for your blog, take care of a reliable and secure web hosting plan for your venture. One of the most popular and widely-trusted solutions is Inmotion Hosting. Some of the major benefits that the hosting provider offers are:
• the possibility to choose a free domain name;
• free cPanel for easy site management;
• free 1-click installer with 400+applications;
• fast web hosting with free SSDs.
The Ready-to-Use website offer includes free 1-year domain name and a secure hosting plan from Inmotion.
Install the CMS and Your Theme
As soon as you select a web hosting plan and login to your account, you need to install a CMS to your domain. Most of the popular web hosting providers offer automatic 1-click WordPress installation to your site. Opting for this option, you will get all the major WordPress components installed in a few minutes. As a result, you will get a very basic and clean website.
In order to make your blog look unique and make it stand out from the competition, you need a theme.
There are both free and premium ready-made designs available on the web. If you want to build a powerful and highly-functional web page, then premium themes are your best choice.
As soon as you find a ready-made design that will become the ideal match for your blog, simply upload, install, and activate it using your WordPress dashboard.
If you are too busy with handling your project, you can let a team of web designers install and customize the theme for you as part of the Ready-to-Use website offer. All that you need to do is to choose a premium theme that will match your brand and inform the team of web design experts about your choice.
Customize Pages and Posts
With your theme installed on your site, it’s high time to start creating content for your future web resource.
Begin with the creation of all necessary pages for your web page. As a rule, ready-made themes come loaded with a series of pre-made pages for a range of purposes like About, Team, Services, Contact, Blog, and other sections. Still, you may add as many custom pages to your website as you want. This can be done quite easily. Simply open the dashboard of your site and look for the Pages > Add New.
Click on it and you will see a screen that resembles what you see in Microsoft Word. Add a title, description, images, and other pieces of data that you want to be present on your web page. As soon as you finish editing it, click Update to save all changes.
In order to make it easy for your reader to find your new page, you will need to add it to the navigation bar.
To do this, click Appearance > Menus in the sidebar of your WordPress dashboard. Find the newly created page and add it to the list as you simply click the checkbox next to it and “Add to Menu”.
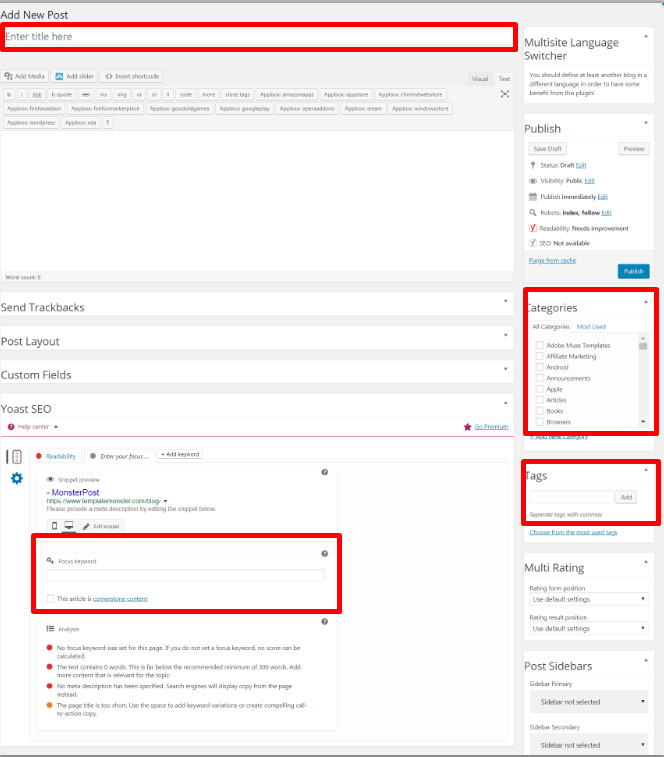
In order to create and edit posts for your blog, find Post > Add New in your WordPress dashboard. Click on it and you will see a text editor right in front of you. Create the post title, manage URL address, write body text, and make your post-SEO-friendly. Also, make your piece findable on your blog as you specify a category and tags for your content.
Do More Customization Work
The customization of your blog doesn’t end up here. There is still plenty of work to be done until you achieve the perfect presentation for your project on the web. This includes uploading your custom logo, managing the color scheme, tweaking layout structure, managing animation effects, connecting your blog with your official social media profiles, adding contact forms, and completing a whole lot of other tasks.
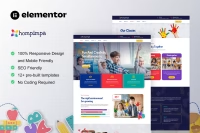
Thanks to the growing popularity of drag-and-drop page builder, there is no need to touch the source code of your blog in order to apply such modifications. Page Builders like Elementor deliver endless site modification opportunities, letting you customize your site’s pages in the drag-and-drop dashboard. Simply take a look at the way it works.
Conclusion
Building a blog or your first business site is easier than it seems provided that you choose the proper way to get the job done. Thanks to the introduction of such offers as Ready-to-Use sites, you can get a custom web page built for you, without making you manage the design and web development tasks. Drab the deal to get your web page built for you or follow the step-by-step instructions to build your first blog without a headache.


